giovedì 30 settembre 2010

Stampavie & More challenge and tri-fold card tutorial

Questa settimana il tema della challenge Stampavie & More è :
Più di una piega!!!
Io ho deciso di fare una tri-fold card e qui sotto trovate un piccolo tutorial.

This week theme for Stampavie & More challenge is:
More than one fold!!!
I made a tri-fold card and here is a little tutorial.


L'immagine è una dolcissima Tilda che ho colorato con i Distress Reinkers.
La carta  l'ho appena comprata e l'adoro, è "Mitten Weather" un paper pad della Cosmo Cricket.
Le scritte sono entrambe della Stampin Up come pure il nastro e la dies usata per le foglie.
La rosellina rossa è Magnolia e le altre fanno parte del mio cestino del tesoro LOL

The sweet Tilda is colored with Distress Reinkers.
I just bought the paper and I love it, it is "Mitten Weather" a paper pad from Cosmo Cricket.
Both sentiments are Stampin Up as the ribbon and as the leafs die too.
Red rose is from Magnolia and the others are from my treasury stash LOL
I materiali utilizzati per questa card li trovate da TIMBROSCRAPMANIA.

You can found all supplies for this card on TIMBROSCRAPMANIA.


Ancora una volta spero che il mio lavoro vi sia piaciuto e che il piccolo tutorial vi sia stato utile.

Once again I hope you liked my work and my little tutorial would be helpful.

Thanks for stopping by

Giò

mercoledì 29 settembre 2010

Copic Sepia tones colouring tutorial

Ciao a tutte!!!
Ecco una piccola card maschile. Il timbro che ho usato è "Sitting Sailor Oakley" della Whiff of Joy.
Oggi vi mostro un piccolo tutorial per la colorazione sui toni Seppia con i Copic.

Hi girls!!!
Here is Giò with a little male card. I used the lovely "Sitting Sailor Oakley"  from Whiff of Joy .
Today I want to show you a little tutorial for Copic Sepia tones colouring.
Questi sono i colori dei quali avete bisogno:
These are the Copic you need:
Prima di tutto colorate l'immagine con il Copic E 40. Colorate lasciando delle piccole aree senza colore.
Dopodichè aggiungete i vari colori come nelle foto.

First of all color the image with Copic E40. Color the image leaving small areas without color. 
Then add the colors as in the photos.


Usate il Copic E 40 per fondere i colori.
Use E 40 to blend colors.
Per una maggiore intensità aggiungete piccoli tocchi di E 77 e quindi usate di nuovo l'E 40 per fondere i colori.
For more intensity add a little bit of E 77 and then blend with E 40 again.

Spero che il mio piccolo tutorial vi sia piaciuto e buona giornata a tutte!!

I hope you enjoy my little tutorial!!!
Have a nice day.

Giò

lunedì 27 settembre 2010

The winner is................

Prima di tutto vorrei ringraziare tutte le persone che hanno partecipato a questo candy e vorrei anche dirvi che anche se non avete vinto ora, presto avrete un'altra occasione per tentare........

 Ed ora........la vincitrice di questo piccolo candy è........ SILVIA!!!
Congratulazioni cara, puoi farmi aver il tuo indirizzo, così posso spedirti il premio??

First of all I would say thanks to all the lovely ladies that enjoied this candy and I would say too that if you haven't win this time, you can take another occasion to win soon........

And now ........the winner of this little candy is......... SILVIA!!!
Congrats dear, can you give me your address so I send you your prize??

Thanks for stopping by

Giò

Tutorial per Whiff of Joy Inspirational blog

Buon Lunedì a tutte!!!!!!
Per iniziare in bellezza questa settimana ho appena pubblicato un piccolo tutorial su
 Whiff of Joy Tutorial & Inspirational blog, vi va di dare un'occhiata??

Nice Monday to all!!!
To begin this week very well, I just posted a little tutorial on
 Whiff of Joy Tutorial & Inspirational blog, would you like to take a look??

Per questa card al maschile ho usato "Sitting Sailor Oakley" della Whiff of Joy
Ho ritagliato l'immagine con una Nestabilities e poi ho sfumato sui bordi con lo Stormy Sky Distress Ink.

For this male card I used "Sitting Sailor Oakley" from Whiff of Joy.
I cut the image with a Nestabilities and then I sponged Stormy Sky Distress Ink on the borders.
Per la scritta ho utilizzato un timbro della Florileges con tutte le lettere e con santa pazienza ho ritagliato quelle che mi servivano per comporre la scritta.

For the sentiment I used a Florileges background with letters and then I cut every single letter I needed for the text.
La carta è Stampin Up come pure il nastro che ho usato per il fiocco.
I bottoni sono Basic Grey e Papertrey Ink.

The papers are from Stampin Up as the ribbon I used for the bow.
Buttons are from Basic Grey and Papertrey Ink.

Spero che questa card e il piccolo tutorial vi piaccia.

I hope this card and my little tutorial liked you.

Thanks for stopping by

Giò

giovedì 23 settembre 2010

Stampavie & More challenge e ancora tutorial

Ancora challenge e ancora tutorial!!!!
Ecco il mio lavoro per il challenge di Stampavie & More.
Il tema è SEGNALIBRO.

Challenge and tutorial again!!!
Here is my work for Stampavie & More Challenge.
This week theme's is BOOKMARK.

Ho realizzato il mio utilizzando i piccoli avanzi che di solito tendiamo a buttare e questo è lo step by step fotografico del mio lavoro.
Per prima cosa tagliate tante striscioline da 1/4".

I realized mine using the little scrap that we usually get off and this is the photo step by step of my work.
First of all cut a lot of pieces of 1/4".
Tagliate la base del segnalibro, la misura che ho usato io è 6 x 2 3/4.
Tagliate il foglio biadesivo lasciando un piccolo margine. Uso il foglio di biadesivo perchè rende il lavoro più facile e pulito, ma potete usare anche altri tipi di adesivo.

Cut the base for bookmark, I used 6 x 2 3/4 size.
Now cut the double sided  adhesive sheet leaving a little border. I use double sided  adhesive sheet because it takes the work easier and cleaner, but you can use also another types of adhesive.
 Incollo la prima striscia partendo dal centro del segnalibro e usando come riferimento una carta quadrettata.

 I stick first strip from the bookmark centre using as reference a paper check.
Dopo aver ricoperto tutta la base con le striscioline, rifilate l'eccesso.

After you cover all the bookmark base with little pieces, cut the excess.

A questo punto la base del segnalibro è pronta, dovete solo decidere come decorarla.
Io ho utilizzato alcuni timbri Florileges con l'inkiostro ColorBox Chalk.

At this point the bookmark base is ready, you only have to decide how to decore it.
I used some Florileges stamps with Colorbox Chalk ink.


Ho distressato i bordi con i Distress Ink.
Sui fiori e sui fili d'erba ho aggiunto un po di glitter e al centro dei fiori ho inserito delle eyelet.

I distressed the borders with Distress Ink pad.
On the flowers and on the grass I added a touch of glitter and in the centre of the flowers I insert the eyelet. 


Spero che questo piccolo tutorial vi sia gradito e ricordatevi di partecipare al mio candy.... se vi va ^_^

I hope this little tutorial liked you and remember to enjoy my little candy..... if you want ^_^

Thanks for stopping by

Giò

mercoledì 22 settembre 2010

Whiff of Joy challenge ANNIVERSARY!!!!!!!

E' il secondo compleanno del challenge Whiff of Joy.........
Grazie, grazie, grazie a tutte voi per averci sostenuto e fatto compagnia in questi due anni.
GRAZIE è appunto il tema che abbiamo scelto per questo challenge.
E per festeggiare cosa c'è di meglio di un piccolo candy e di un tutorial??
Questo delizioso timbro dell'ultima collezione Whiff of Joy, che mi ha gentilmente inviato Katharina (grazie cara), potrà essere vinto da una di voi, vi basterà lasciare un commento a questo post anche più di una volta, ma solo una al giorno, diventare lettori se vi fa piacere e fare un po di pubblicità a questo piccolo candy.
Annuncerò il vicitore di questo blog candy Lunedì prossimo.

It's a Whiff of Joy's challenge 2nd anniversary.........
Thanks, thanks, thanks to all of you for your support and for keep company with us.
THANK YOU is the theme we chose for this challenge.
And to enjoy the party , what is better than a little candy and a tutorial??
This adorable stamp from Whiff of Joy last collection, who Katharina kindly send me (thanks dear), can be win from one of you. You can do it leaving a comment on this post as many times as you like but once daily only, become readers if you want do and please mention this candy on your blog roll.
I will announce the winner of my blog candy next week Monday.
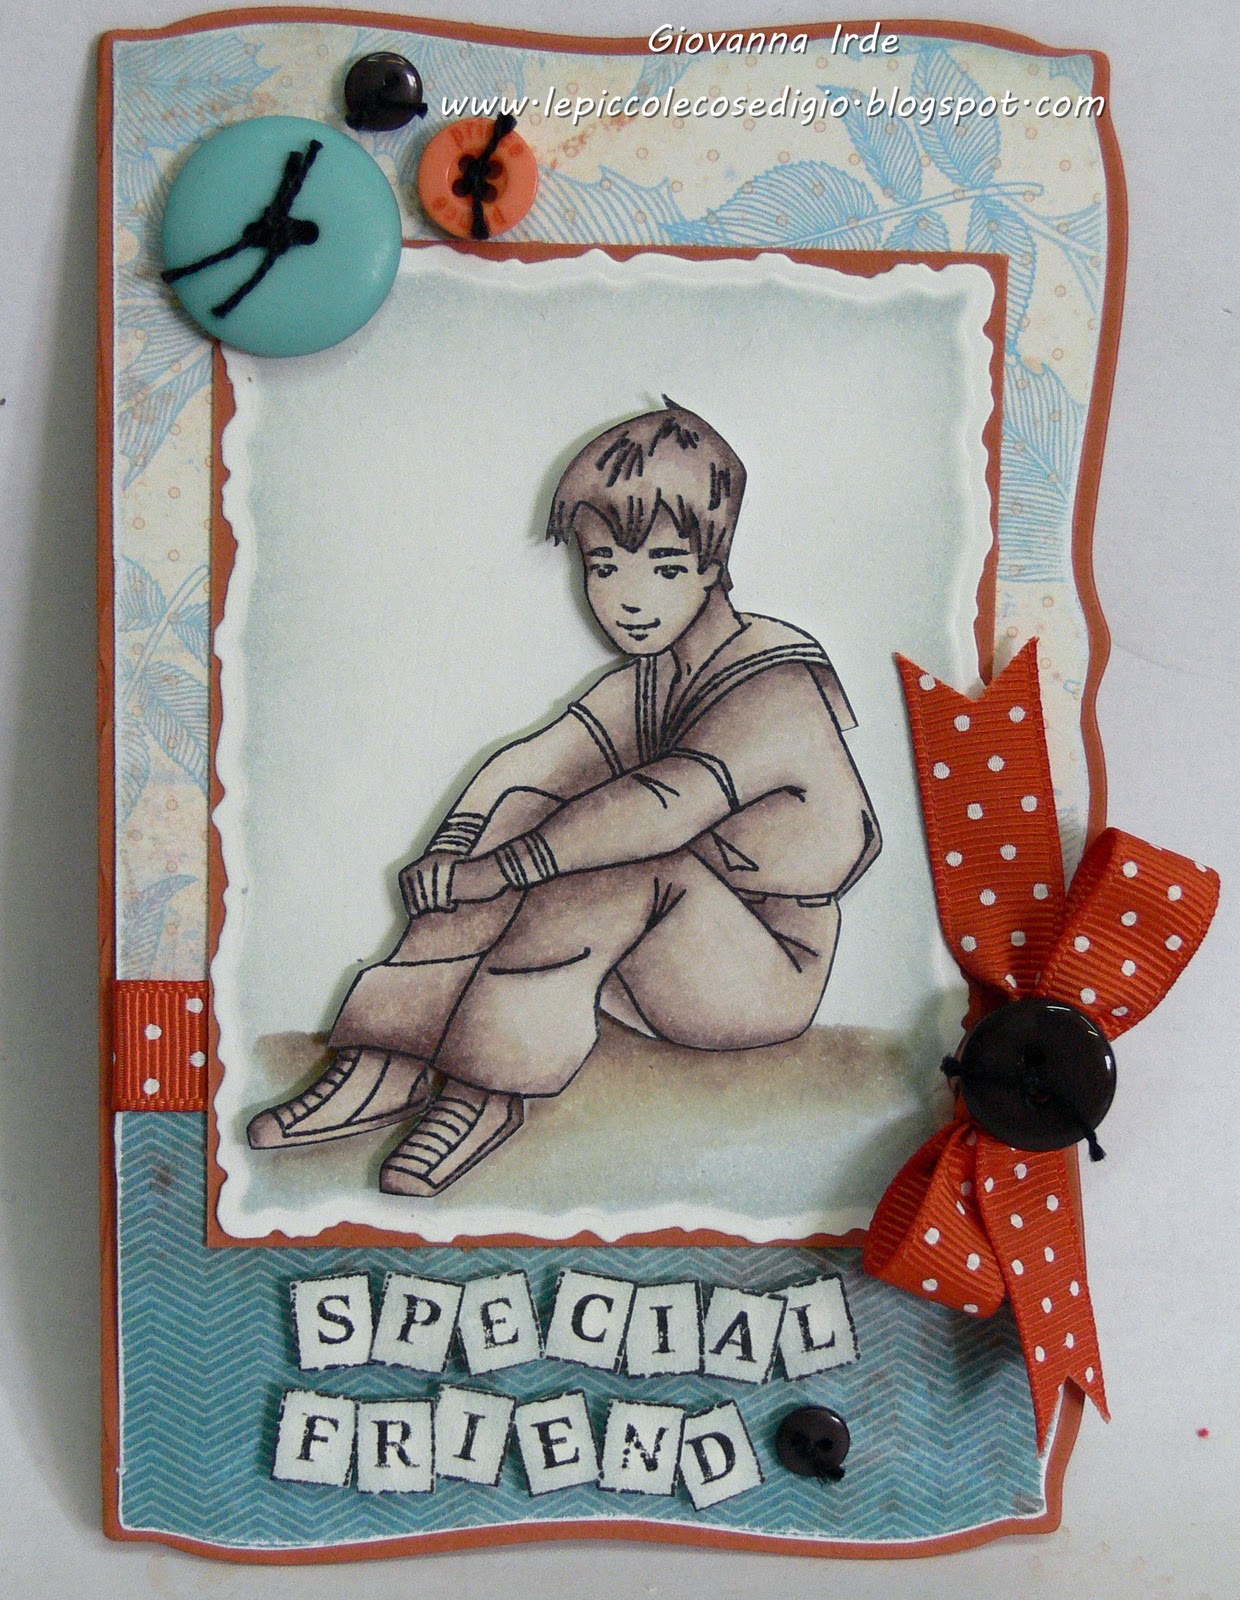
Ed ora veniamo alla card. Si tratta di una criss-cross card e qui di seguito trovate lo step by step fotografico.
Il timbro è  Melinda with bouquet della Whiff of Joy, non è nuovissimo ma lo adoro!!!!

And now the card. It's a criss-cross card and below you find the photo step by step.
The stamp is Melinda with bouquet from Whiff of Joy, isn't new, but I love it!!!


Queste sono le nuove bellissime Dies della Whiff of Joy, da oggi in poi vi mostrerò diversi modi per sfruttarle al meglio. Intanto vi spiego come centrare la timbrata nella tag.

These are the new beautiful Whiff of Joy Dies, from today, I will show you how to use them.
Now I show you how to center the stamping on the tag.


Prima di tutto timbrate la scritta sul cartoncino.

First of all stamp the sentiment on a cardstock.

Poi poggiate la parte di plastica trasparente sul cartoncino centrando la timbrata.
Con una matita segnate due puntini dove ci sono i due piccoli fori.

Then position the clear plastic over the cardstock to see how you must use the die.
Mark two dots on two little holes on the plastic.
A questo punto dovete solo far corrispondere i puntini con i piccoli fori sulla die e tagliare con la vostra macchina da taglio. Questo sistema vi permette di centrare perfettamente qualunque timbrata.

So, you simply need to adjust the marks with the holes on the metal die and cut with your cutting machine.
This way you always have the stamp in the right place.
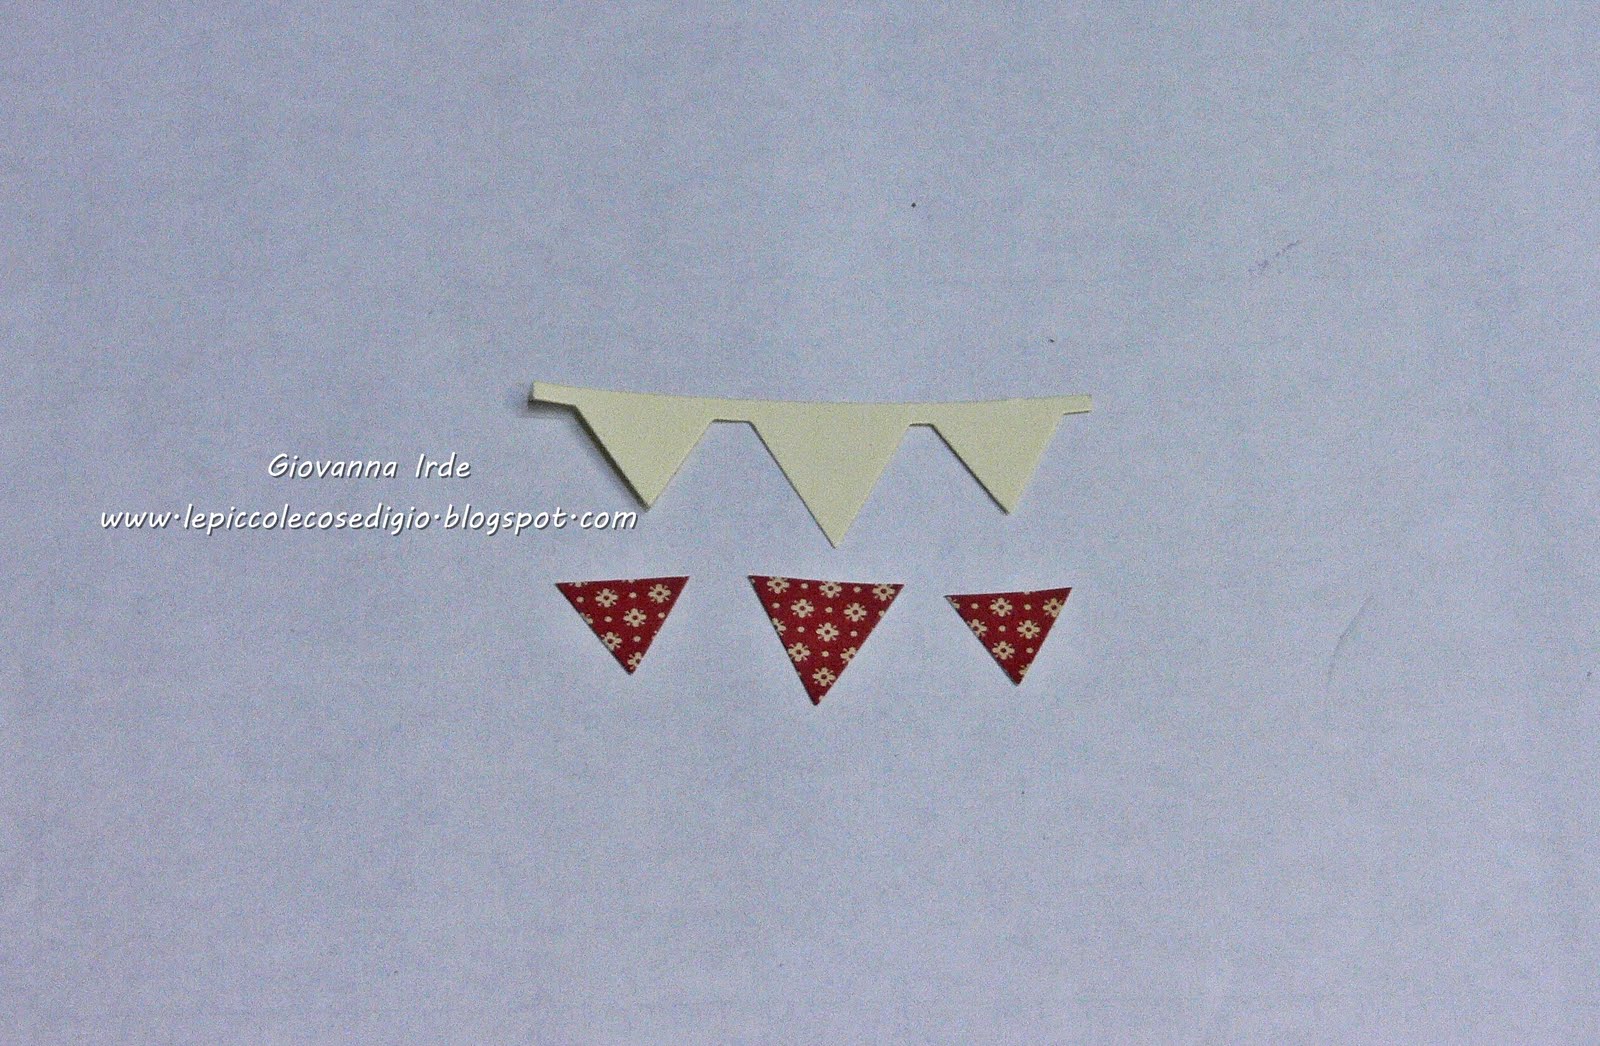
Adesso potete comporre la vostra criss cross card. Incollate i due lembi e poi assemblate i vari pezzi che avete preparato . Fate anche delle tag da inserire all'interno, io ne ho fatte tre e quella rettangolare misura 4 x 5 1/4.

Now you can compose your criss cross card. Stick the two sides and then all the pieces you made.
Made also a few tags, I have made three and the rectangular one is 4 x 5 1/4.


Spero che partecipiate in tante al mio piccolo candy e che il mio tutorial vi sia piaciuto.

I hope you all will enjoy my little candy and my tutorial liked you.

Thanks for stopping by

Giò