Grazie, grazie, grazie a tutte voi per averci sostenuto e fatto compagnia in questi due anni.
GRAZIE è appunto il tema che abbiamo scelto per questo challenge.
E per festeggiare cosa c'è di meglio di un piccolo candy e di un tutorial??
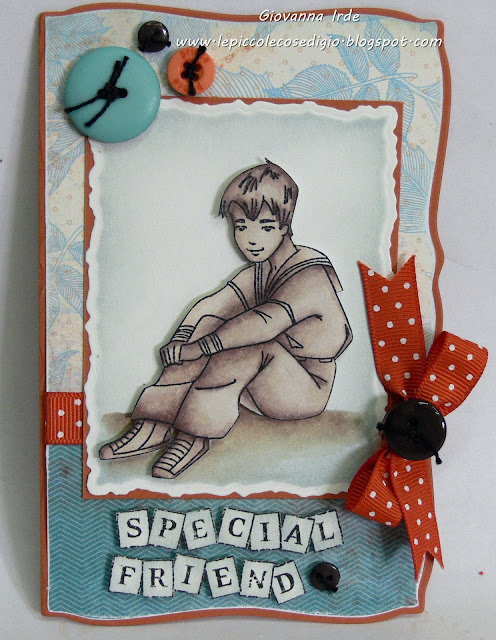
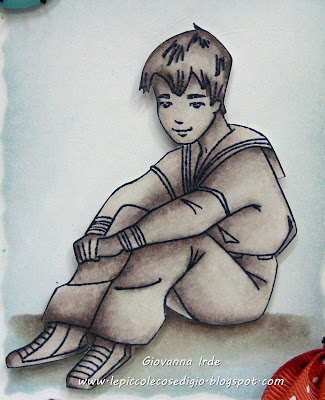
Questo delizioso timbro dell'ultima collezione Whiff of Joy, che mi ha gentilmente inviato Katharina (grazie cara), potrà essere vinto da una di voi, vi basterà lasciare un commento a questo post anche più di una volta, ma solo una al giorno, diventare lettori se vi fa piacere e fare un po di pubblicità a questo piccolo candy.
Annuncerò il vicitore di questo blog candy Lunedì prossimo.
Thanks, thanks, thanks to all of you for your support and for keep company with us.
THANK YOU is the theme we chose for this challenge.
And to enjoy the party , what is better than a little candy and a tutorial??
This adorable stamp from Whiff of Joy last collection, who Katharina kindly send me (thanks dear), can be win from one of you. You can do it leaving a comment on this post as many times as you like but once daily only, become readers if you want do and please mention this candy on your blog roll.
I will announce the winner of my blog candy next week Monday.
Ed ora veniamo alla card. Si tratta di una criss-cross card e qui di seguito trovate lo step by step fotografico.
And now the card. It's a criss-cross card and below you find the photo step by step.
Queste sono le nuove bellissime
Dies della Whiff of Joy, da oggi in poi vi mostrerò diversi modi per sfruttarle al meglio. Intanto vi spiego come centrare la timbrata nella tag.
These are the new beautiful Whiff of Joy Dies, from today, I will show you how to use them. Now I show you how to center the stamping on the tag.
Prima di tutto timbrate la scritta sul cartoncino.
First of all stamp the sentiment on a cardstock.

Poi poggiate la parte di plastica trasparente sul cartoncino centrando la timbrata.
Con una matita segnate due puntini dove ci sono i due piccoli fori.
Then position the clear plastic over the cardstock to see how you must use the die.
Mark two dots on two little holes on the plastic.
A questo punto dovete solo far corrispondere i puntini con i piccoli fori sulla die e tagliare con la vostra macchina da taglio. Questo sistema vi permette di centrare perfettamente qualunque timbrata.
So, you simply need to adjust the marks with the holes on the metal die and cut with your cutting machine.
This way you always have the stamp in the right place.
Adesso potete comporre la vostra criss cross card. Incollate i due lembi e poi assemblate i vari pezzi che avete preparato . Fate anche delle tag da inserire all'interno, io ne ho fatte tre e quella rettangolare misura 4 x 5 1/4.
Now you can compose your criss cross card. Stick the two sides and then all the pieces you made.
Made also a few tags, I have made three and the rectangular one is 4 x 5 1/4.
Spero che partecipiate in tante al mio piccolo candy e che il mio tutorial vi sia piaciuto.
I hope you all will enjoy my little candy and my tutorial liked you.
Thanks for stopping by
Giò


