Ciao a tutti da Giò!!!
Oggi vi voglio mostrare come realizzare una scatola con divisori che conterrà delle tag natalizie.
Oggi vi voglio mostrare come realizzare una scatola con divisori che conterrà delle tag natalizie.
Hi all, here is Giò!!!!
Today I want to show you a tutorial to make a box with divisors that conteins a lot of Christmas tags.

Avrete bisogno di:
You will need:
Whiff of Joy Cute Donkey for the sentiment;
Whiff of Joy Noel sentiement from October Store Kit;
Kraft and Ivory cardstock;
1 sheet Acetate;
Memento Tuxedo Black; White Ink; Copic Markers;
White embossing poweder; Heat tool;
Double sided tape; Glue Dots;
Ribbon; Charm; Button; white and kraft wire;
Paper trimmer, Score Board; Big Shot, Scissor.
Ora siete pronte!!!
Now you are ready!!!!


Ho decorato la base della scatola con alcune timbrate in bianco.
I decorate the bottom of the box with some stamps stamped in White.

Mettete un piccolo pezzetto di biadesivo sulle alette.
Put a little bit of double sided adhesive on the little tags.

Capovolgete il cartoncino e attaccate il biadesivo sui quattro bordi.
Turn the cardstock over and attach the double sided adhesive on the four borders.

Prima di tutto attaccate le piccole alette e poi gli altri lati due a due.
First of all attach the little tags and then attach the other sides two by two.


Ora facciamo i divisori.
Now we make the divisors.


Dopo aver piegato i cartoncini, mettete del biadesivo come nelle foto.
After scoring, put the double sided adhesive as in the photos.


Adesso possiamo inserire i divisori nella scatola.
Now you can insert the dividers on the box.

Per il coperchio, usiamo un foglio di Acetato.
For the top of the box, used a sheet of Acetate.

Per chiudere i bordi ho usato i Glue Dots.
To attach the borders of this top I used a Glue Dots.

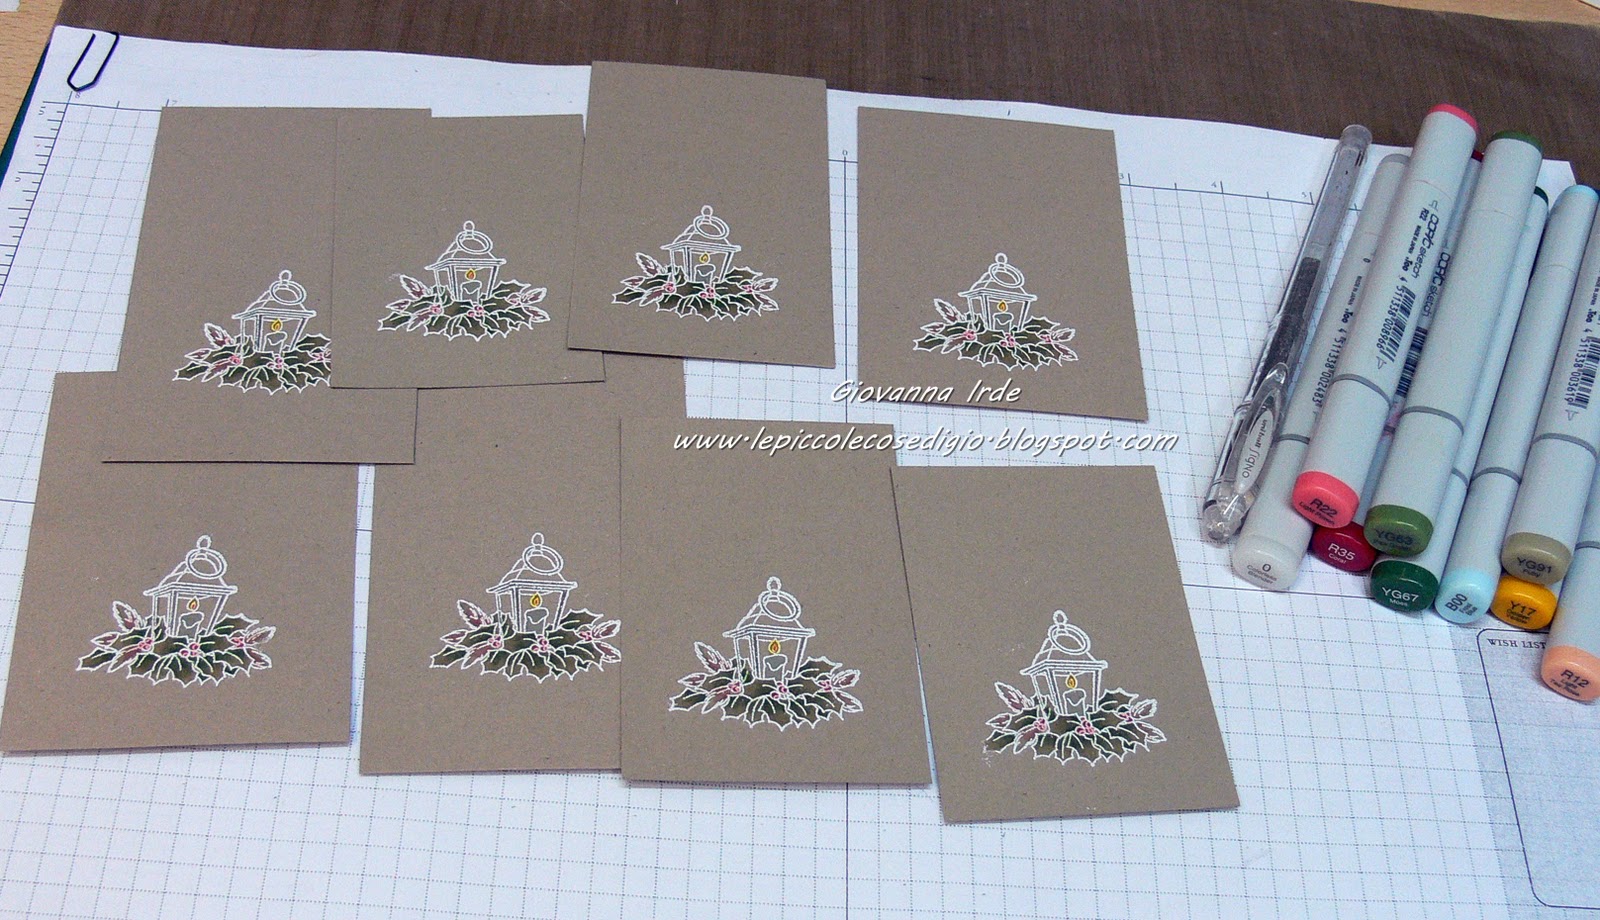
Ho fatto 8 tags Kraft e 8 Avorio.
Stampate in bianco sul Kraft e in nero sull'Avorio e poi colorate con i Copic Markers.
I made 8 tags Kraft and 8 tags Ivory.
Stamp in White on Kraft and in Black on Ivory and then color with Copic Markers.


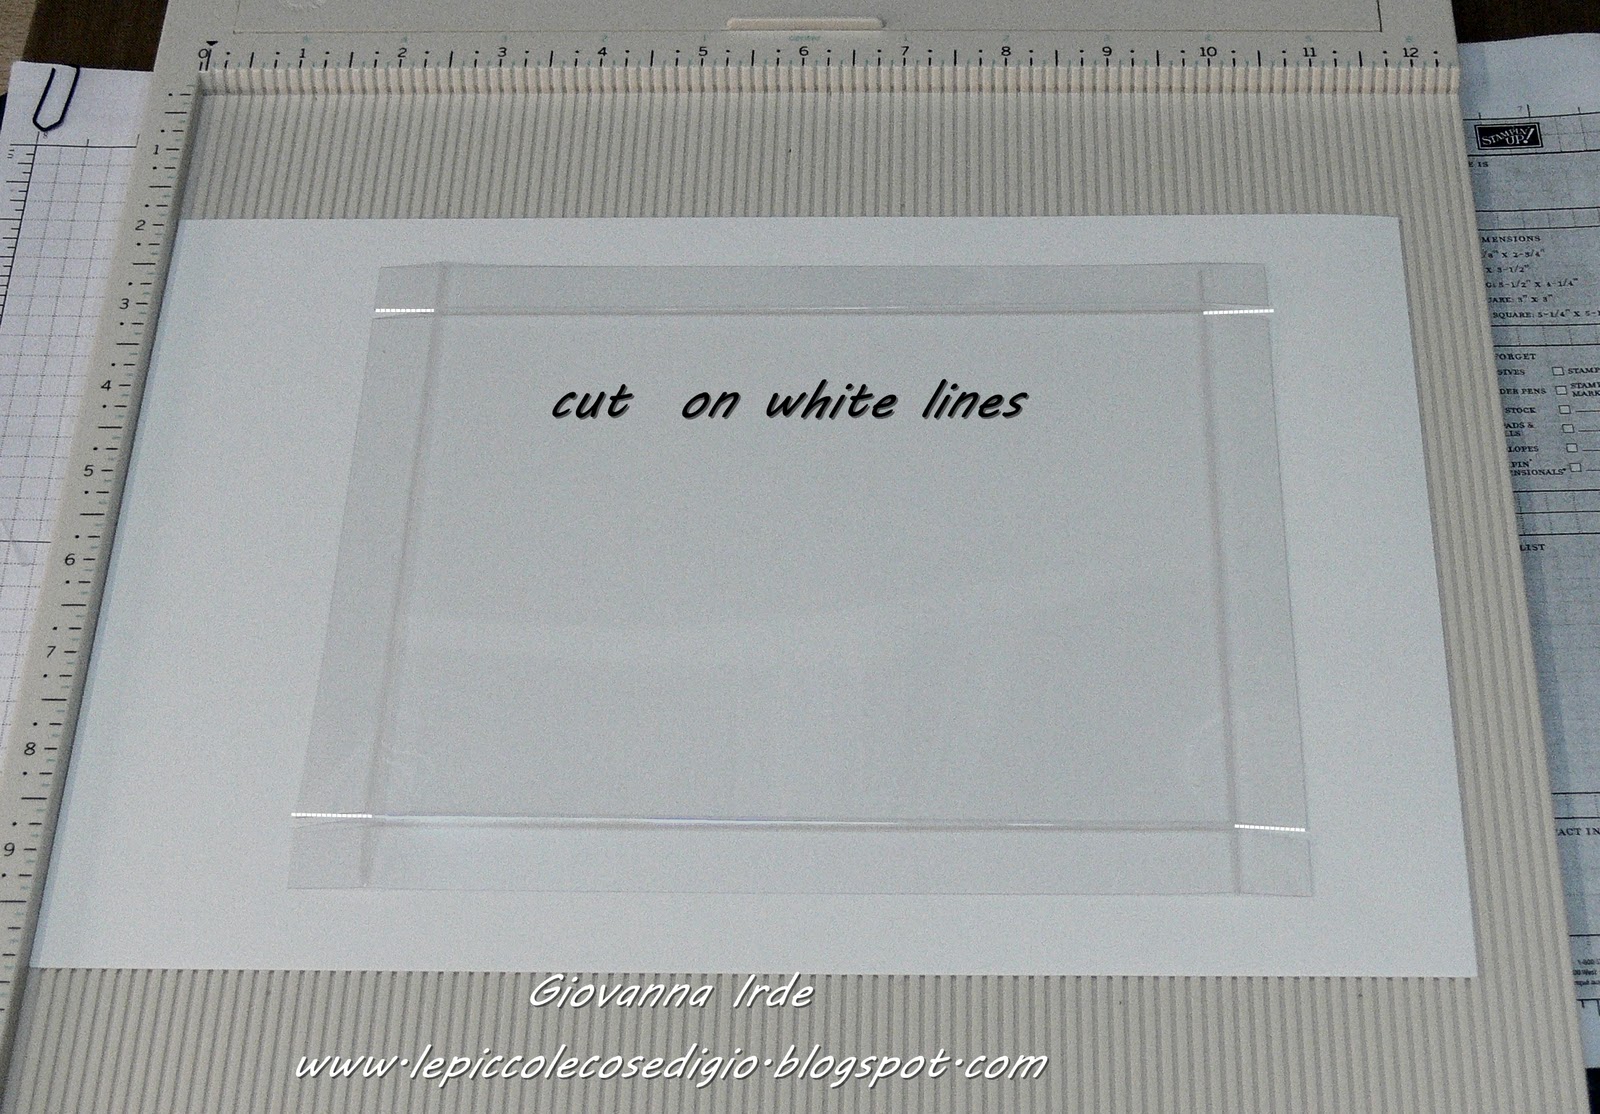
Posizionate la parte di plastica trasparente sul cartoncino e fate due puntini dentro i fori della plastica.
Position the clear plastic on cardstock and make two dots on the holes on the plastic.

Fate coincidere i puntini con i buchi sulla die in metallo e tagliate con la vostra macchina da taglio.
Adjust the marks with the holes on the metal die and cut with your cutting machine.


Con un piccolo pezzetto di cordino le vostre tag sono complete, non dovete far altro che sistemarle nella scatola.
Ho decorato il top della scatola con dei nastri e un fiocco dal quale pende un ciondolo, ho anche aggiunto una tag fatta con la Fancy Shape die e la scritta fa parte dello store Kit di Ottobre.
With a little piece of natural wire your tag are completed, you don't have to do nothing only put them in the box.
I decorate the top of the box with ribbons and a bow, I also add a tag made with the Fancy Shape Die, the stamp is from Season's Greeting kit.

Spero che questo tutorial sia chiaro e semplice e che vi piaccia.
I hope this tutorial would be simple and clear for you and I hope you will like it.
Thanks for stopping by.
Giò


Che bel tutorial... :)
RispondiEliminaE chi non ha una macchina da taglio, come fa a fare delle tag così belle? non mi verranno mai così, con la forbice...pazienza... :(
Come misure, secondo te la scatola andrebbe bene se volessi utilizzarla per inserire qualche bustina di the?
PS: il Glue Dots cosa è? adesivo trasparente?
Quante domande vero? si vede che mi interessa?? ;) complimenti!!
Che capolavoro!!! Complimenti le tue creazioni sono sempre perfette e bellissime !!:)
RispondiEliminarealy wow! great project! thank you for sharing!
RispondiEliminaBellissimo veramente!!!
RispondiEliminaComplimenti